

Adding an Object Source Lighting (OSL) glow on your armies weapons is an extremely effective way to make your minis stand out on the table. While it seems complicated at first, it's actually not that hard and can be quickly mastered in 5 easy steps.
Much like my tutorial from last week on Painting Fluid Filled Vials, this articles goal is to show you how to do quick and simple OSL effects on your weapons in 5 easy steps. Like the previous article; this is not Golden Deamon quality, but rather High-Quality Table Top and very effective.
Before I get into the steps, let it be known that I prefer an airbrush for this technique. However, if you do not have one, you can use a drybrush for steps 2&3.
If you are using an airbrush go for a dual-action for greater control over the spray width. This article outlines the differences well.
The Process

Step 1: Block out the illuminated area with a base color.
(In this case Vallejo Violet Red)

Step 2: Airbrush or drybrush a blast over the illuminated area with the base color lightened up a notch.
(In this case Vallejo Violet Red mixed with a dab of white)

Step 3: Airbrush a second blast of the previous color lightened up 1 more.
(Vallejo Violet Red mixed with more white)

Step 4: Hand paint a strip of the color used in step 3, lightened up even further.
(Vallejo Violet Red mixed with more white, or GW Tentacle Pink)

Step 5: Hand paint a thinner strip of color that is almost white for the final "hottest" part of the light effect.
(80% White with a dab of the base color to offset it a little)
Here are the results on a few figures.


Here's the same technique done in turquoise.

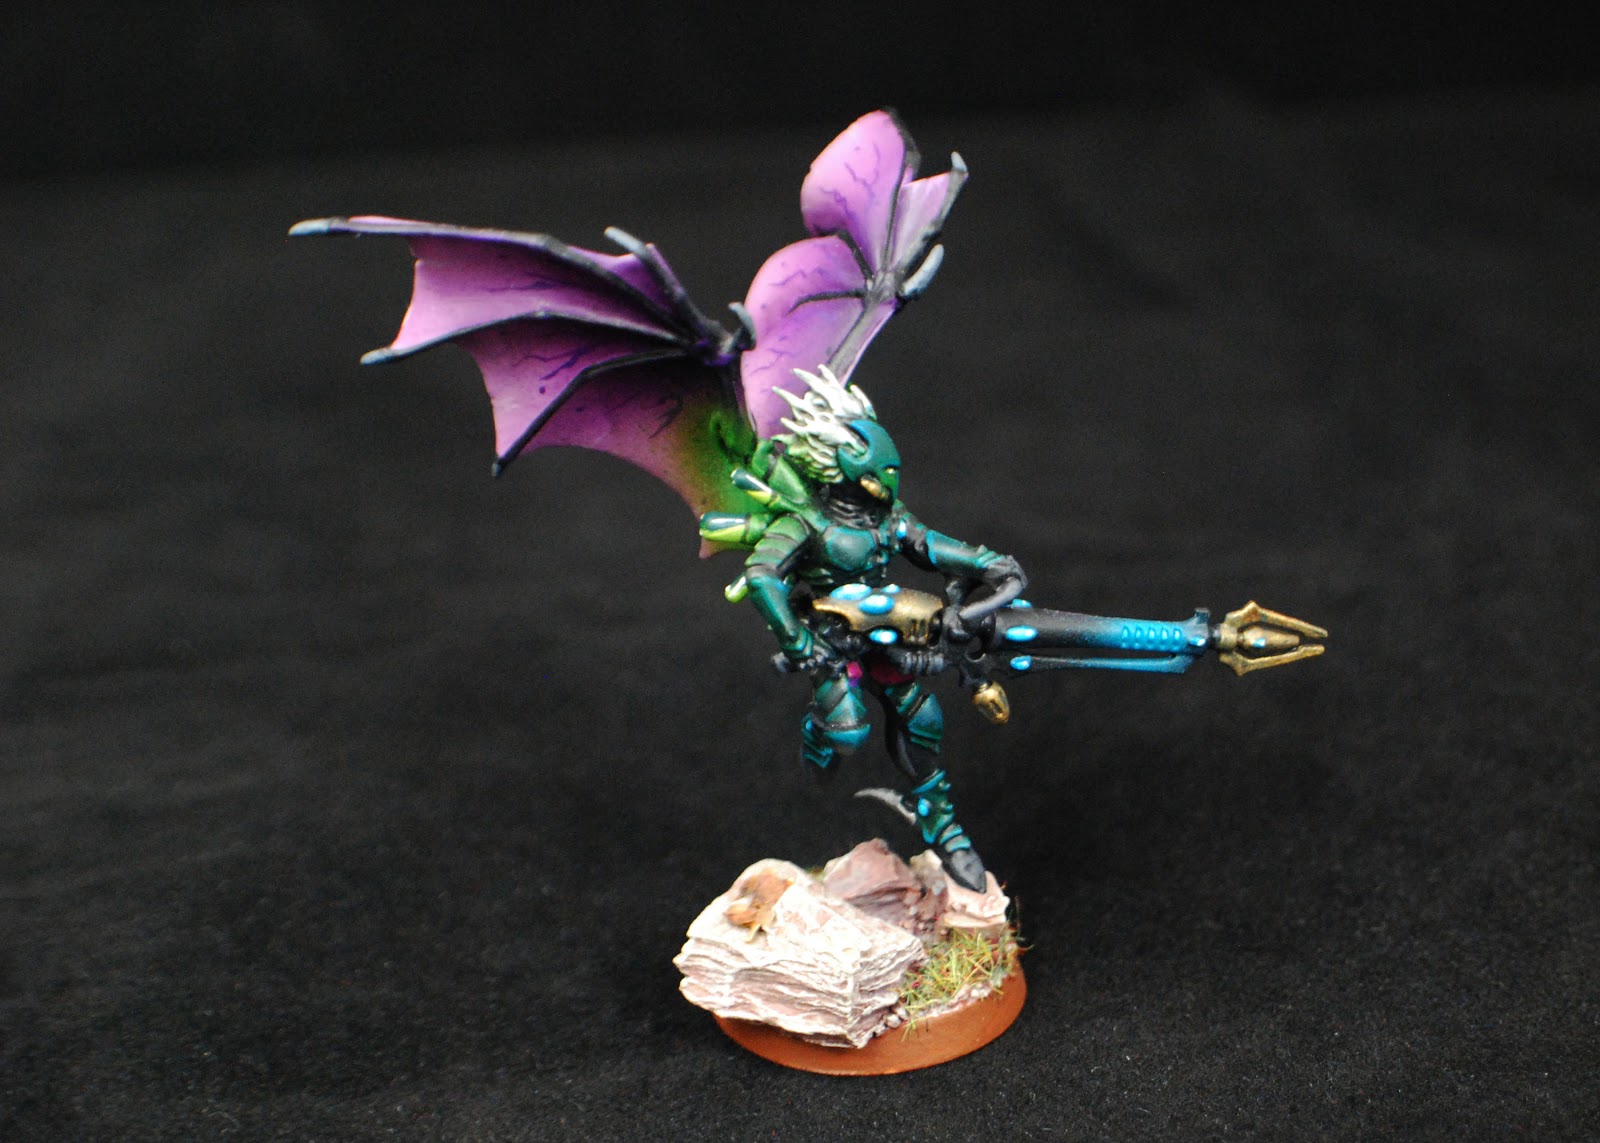


Now go make something glow!
That was realy helpfull, i might use it in near future to paint plasma gear or some oher source of OSL.
ReplyDeleteAwesome!
DeleteExtremely useful thank you! Now I just need to buy a decent airbrush!
ReplyDeleteVery nice! Something I do instead of airbrush or drybrush is water down my base color, almost like a wash, and put a bit of it over the area I'd like the effect on.
ReplyDeleteI'm loving your tips and tricks, great stuff!
Hi,
ReplyDeletei like your Blog!
Anf i like your works!
I follow you.
If you like to follow me too, i’ll be happy!
VioletPaint
See you soon! ^^
You are such an inspiration, love the tut, thanks!
ReplyDeleteThis is an amazing and well designed tutorial. My only question is this: What about bigger models, like the Fire Prism for the Eldar? Is it pretty much the same concept? (Sorry for activating a dead post: I'm doing OSL on exactly what my question asks about.)
ReplyDeleteFantastic idea, thank you.
ReplyDelete