
Here's my first posting on what will surely be a long, complicated and freakin awesome project!

Let me start off by saying I've been drooling over Mark Mondragons' (AKA Mark Coolestnameever) Leviathan Models since they were just 3D renderings. Recently with some improved personal funds I decided to splurge and buy what ended up being his VERY LAST MORTIS MODEL IN STOCK. -Whew, talk about great timing.
It's a truly amazing resin kit with such unparralled style, grace and pure malice built into it, perfect for my Chaos Legions. I knew that I would want to do something special with it so I figured I'd pull out all the stops here.
THE PLAN
-Build up the Mortis in a dynamic action packed pose.
-Illuminate the Mortis with an LED lighting kit run off of a 9v battery. Completely self contained
-Build a scenic base that looks like a war torn ruined city section for the Mortis to stand in and look menacing.
-Airbrush the hell out of it including some chaos star stencils.
-Use new weathering techniques I've learned recently and have not had a chance to apply to anything.
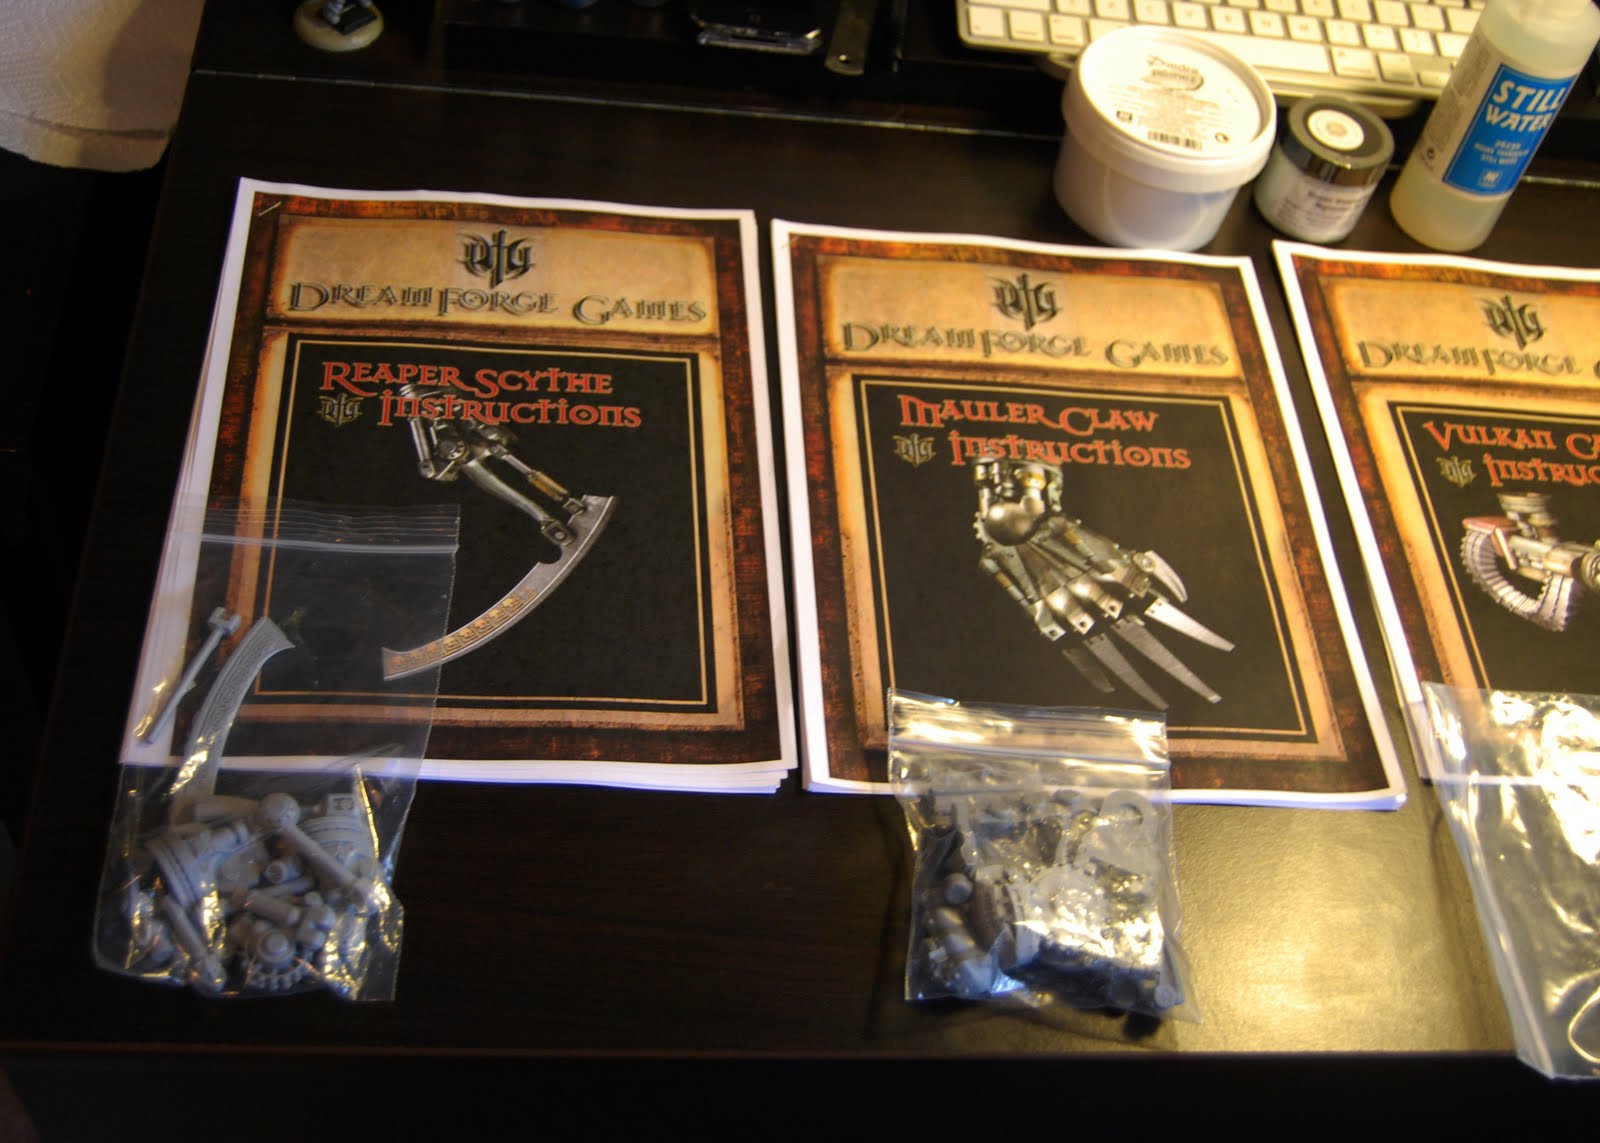
PART 1, Unpacking
As you can see, many, many bags of resin pieces :) The instructions were downloaded PDF's of the Dreamforge Site


PART 2 Chest / Arm / Leg sub-assemblies
I was able to over the past 2 weeks assemble the 3 arms, 1 leg and the chest. The claw and gatling gun will be interchangable where as the scythe will always be there cause it's just that damn cool.


PART 3 Electronic pieces / Initial planning
Here's a few pics of the LED's being used, the circuit chip and the 9V battery. Thankfully the chest area of the model has a perfect open space that will accommodate the battery and LED driver chip no problem.


This chart will show you what I'm illuminating.

Stay Tuned, The next update on this project will focus on the scenic base.
This looks like it will be awesome! Cant wait to see more.
ReplyDeleteIt looks such a nice kit. How was the build itself, was there any awkward bits or gaps or did it go together as good as it seems in the pictures?
ReplyDeleteNice - I was thiiiiiis close to ordering one but held off until it was too late. One of the few times my wallet overcame my hobby addiction. Loving the build so far, and can't wait to see it lit up and painted! Keep up the great work!
ReplyDeleteHow awsome is that kit droooool.
ReplyDeleteThanks for the compliments guys!
ReplyDeleteThe kit is awesome to assemble, as with any resin kits there are slight gaps to fill and seam lines to be cleaned..but I'd say it is on par with Forgeworld kits.
Quite frankly I've dealt with terrible garage resin kits in my day on my other blog: http://tykensrift.blogspot.com/
So this kit was aces compared to them.
Are you going to be sharing any insight into adding LED's to kits? It's one of those things I always intend to do, but never actually do.
ReplyDelete